#5 – Before/After: Brunette Studio Portrait (and the process thereof)
It’s been a while since I last posted – I’ve been working on other projects (and I still am)! Thought I’d better upload my latest retouching practice though.
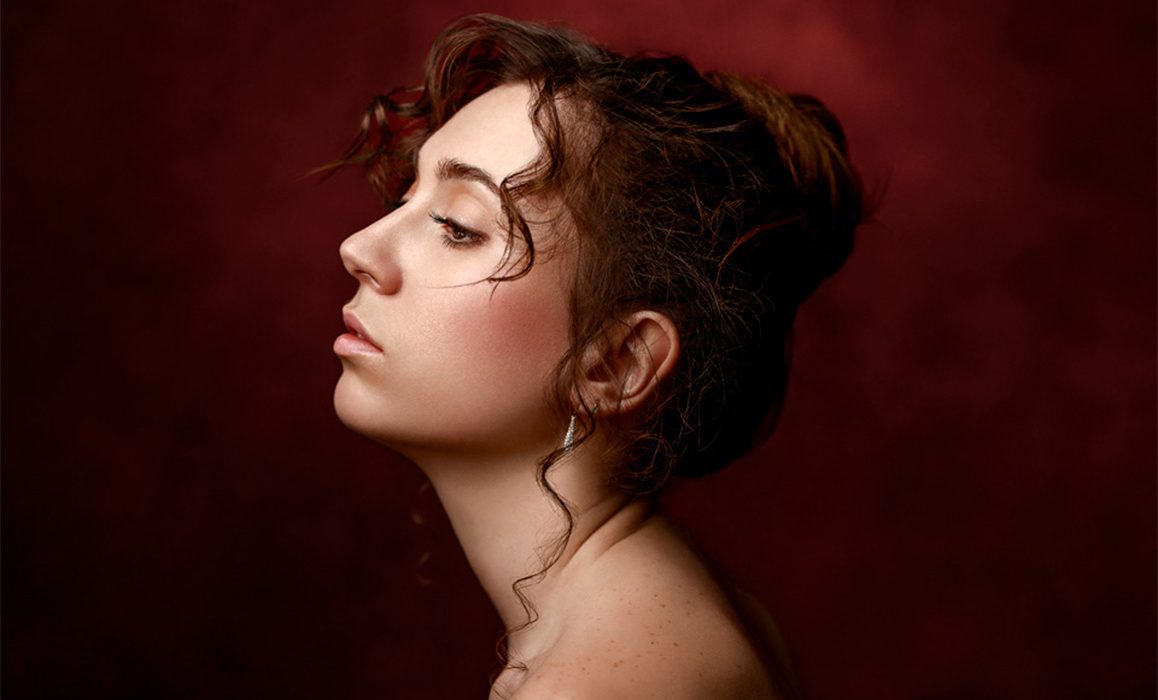
After
Sorry that there is no slider for this image – I had cropped the image and so the ratios were different.
In this retouch, I aimed to not only smooth her skin, but separate the subject further from the background, thus placing more emphasis on the model herself. It was a fun challenge, I really enjoyed it. I also learnt a whole heap of new techniques (including channel blending – this video here was really informative), and I tried to not rely so much on frequency separations – instead I focused more on dodging and burning techniques.
I’m not going to lie. This was a really time intensive piece for me to do – but I have been picking up little tips and tricks along the way to speed up my workflow. I would like to learn more about lighting and how to read lighting, I unfortunately was not much chop at the photography units at university.
My workflow to take this portrait:
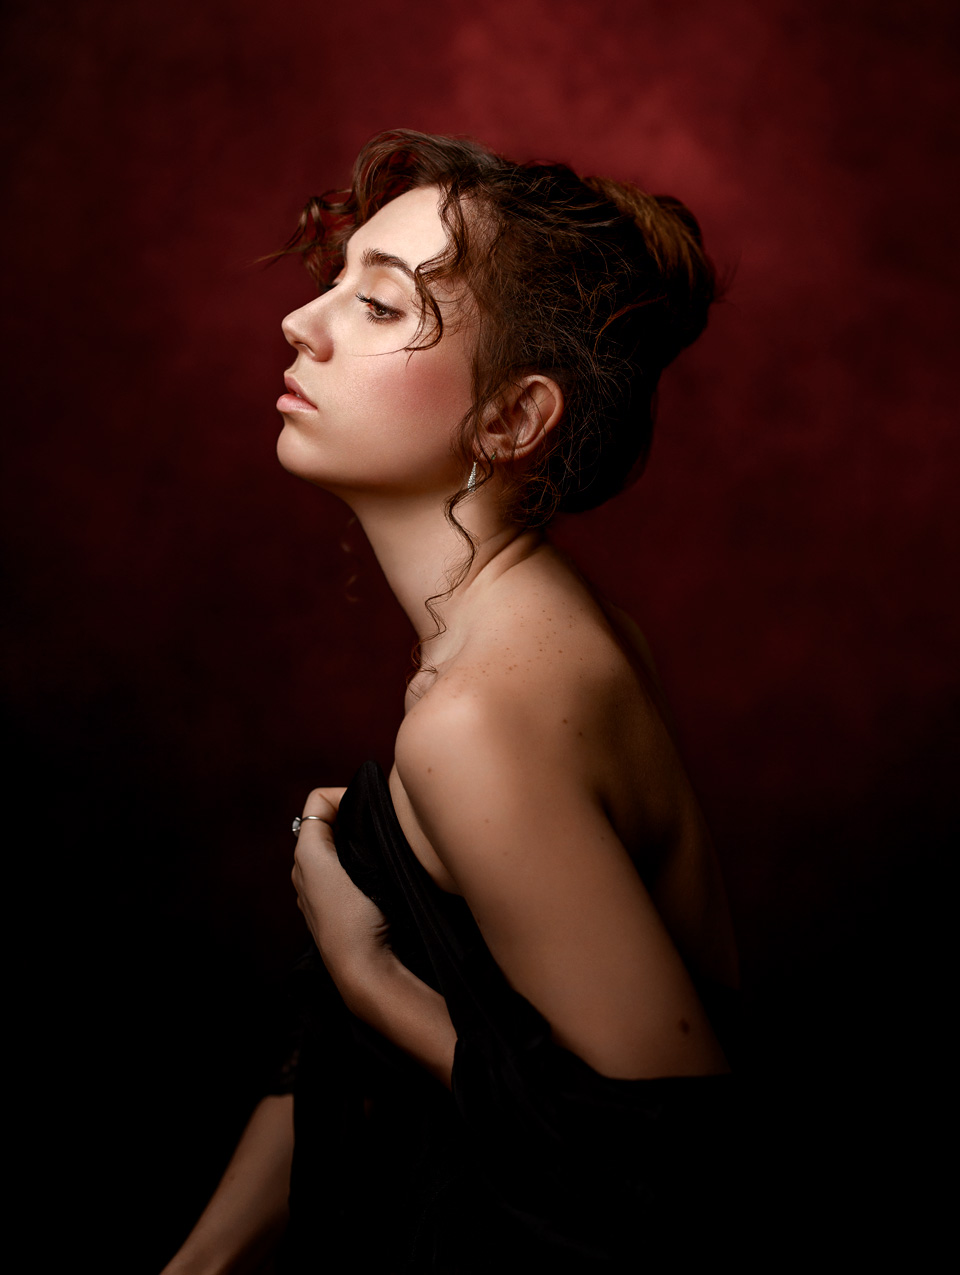
Before
to the one above is as follows:
Start in Lightroom or Camera Raw:
Import the image into Camera Raw or Lightroom (I don’t have Capture One – yet). Adjust the exposure sliders, White Balance, Whites, Highlights, Shadows, and Blacks to liking – keeping an eye on the histogram. Try not to clip anything. If needs be, adjust the saturation or vibrance, and curves. Highlights should still be highlights, and shadows should still be shadows. Import as an object into Photoshop.

Create balance between skin areas:
One of the first things I did when I imported the image into Photoshop itself was to try and match the tones of her face to her neck, arm, torso, and back. For this I used the HSL adjustment layers, and a super fancy action created by Michael Woloszynowicz – the Vibrant Shot Tonal Diff Fix. It helped immensely. This was also where I tried to pull the red blotchiness out of her arm (which took longer than expected, but I eventually figured it out. Post about this coming soon). It’s like foundation. If your foundation stops at your jaw it looks fake!
This was also where I played with luminosity masks, cropped, and darkened and de-saturated the background, pulling her forward.
Heal:
To heal the smaller spots, scars, and stray hairs, I made a new layer. On this I used the healing brush tool on her skin, and not the clone stamp tool. I also set the sample to current and below, and the diffusion at 1. I have found that using the clone stamp on skin can destroy the skin texture, which is something that I’m desperately trying to save. I don’t want to blur her skin out, I want her to look real – but better. A super good skin day! The clone stamp tool, I have found, is good on hair though. YMMV though.
Adjusting the skin tone:
After the healing was done with, this is where I went in and adjusted her skin tone to how I wanted it. I was aiming for a more golden, healthy sort of a glow. Red and gold always look nice together. I could have done her with a more cool-tone skin, but nah. I do have to wonder what the photographer and model would have preferred though?
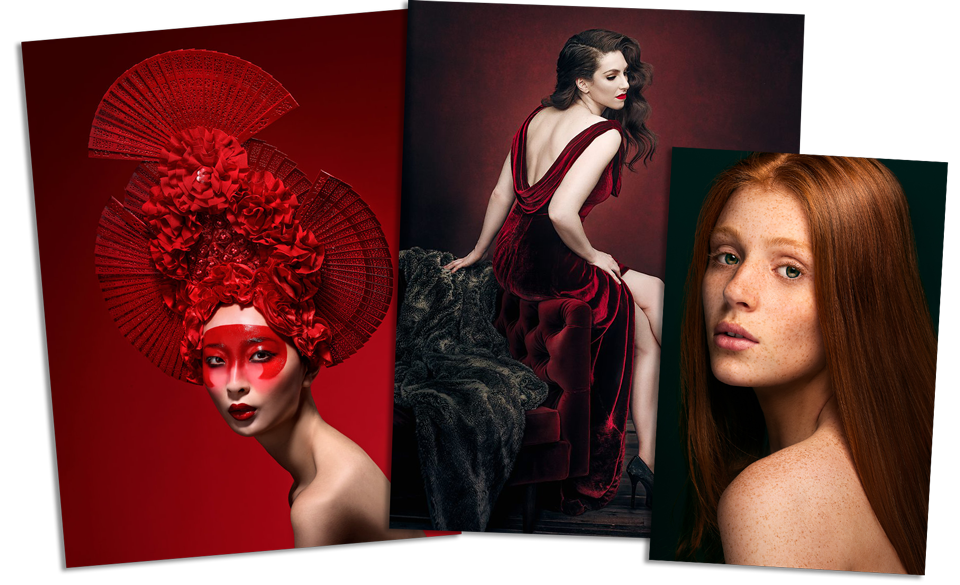
Some of my inspiration. I went onto Pinterest a lot, and save a heap of images to my phone. I think these might all be by Lindsay Adler? How gorgeous are they all?
I found this tutorial by Kayleigh June, and just adjusted it accordingly.
When that was all done, I then went back and healed a few more areas, which had decided to stick out after the colour adjustments.
Dodging and Burning:
Finally I was up to doing the dodging and burning. I really focused on this – and mostly used curve layers to do so (set to luminosity). I corrected the small areas of her skin and hair, trying to blend in any divots or bumps, with a soft brush set on 1% flow. Once I had cleaned it up to my liking, I went in lightly and tried to build contrast.
I’m only new to it, and not feeling too confident in my abilities yet. I didn’t want to go overboard and turn the model into an entirely different person, and I still have to study lighting more thoroughly. I’ll figure it out eventually, that’s part of my goal (post to come).
Refinements:
Nearing the end of the retouch, I then went ahead and did some refinements on the image. Using Check Layers, I further fixed some discolourations, adjusting them with hue and saturation layers, and masking. In this section I also adjusted her make up (eyes, brows, cheeks, lips), and then I did a very light amount of frequency separation (just in the areas that I felt needed it – like her cheek).
Finally, I linked all the layers together into a smart object in another file, liquefied small areas that I felt needed it (her neck, the small bump on her nose – not that there is anything wrong with either of those things!), made a grain layer (to bring it all together), and sharpened using High Pass.
Then I exported it, asked my partner what he thought (he couldn’t see any difference tbh, *sigh*), uploaded to r/retouching on reddit… and waited nervously for any helpful critiques.
So I hope that this was interesting, a bit of an insight into my process for this retouch. I’m sure as I go along this will chop and change, eventually speeding up and becoming more efficient. What are your thoughts? Do you like the outcome? If you retouch, what would you change, how do you think I should improve?
Please post any comments below, I’m looking forward to hearing from you!
Hope you have a great day!